DISCLAIMER: I would never want anyone to damage their vehicle, or God forbid get hurt, therefore everything you read here should NOT be considered safe, approved by Tesla or the NHTSA. All the mods are done at the owner’s risk, and some may even void the warranty. Check with Tesla or an authority if you have doubts, and before attempting any modifications. All this is for instructional purposes only.
As any car owner will tell you, regardless of how much technology a car manufacturer throws in from factory, there is always room for improvement, especially as it comes to flexibility of installing aftermarket equipment.
In this article I’ll cover 12v Distributed Switched Power to easily connect vehicle accessories. (all parts needed and reference material is linked for your convenience)
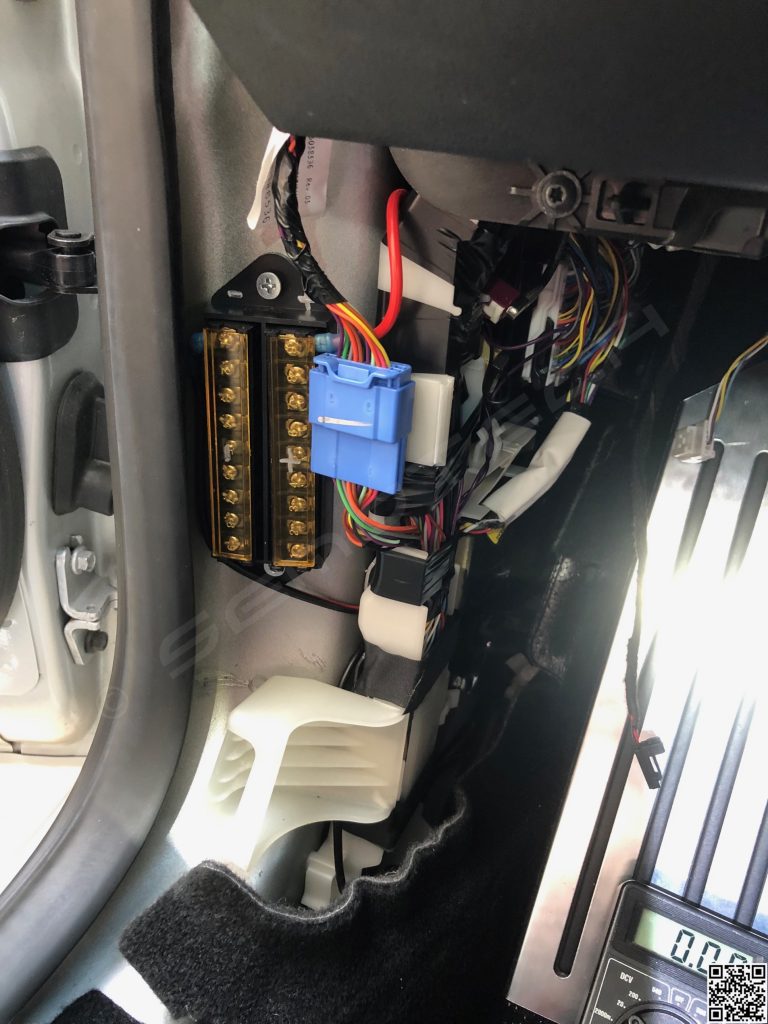
Here is what the final power distribution block looks like, installed in the driver footwell pillar.

Background Info:
As we all know, switched 12v is the best way to hardwire accessories (dash cams, radar, hot spot, etc.), so when the car turns off, the accessories do not continue to drain the batteries. Devices such as dash cams can be equipped with their own batteries so they don’t drain the car’s. Anyway, there are several places to get 12v switched power for hardwired accessories but none are practical as a permanent power source for hardwiring multiple devices one after the other, and require complicated work and time for each one over time..
As of now the 7 known usable switched 12v power locations are:
1) Socket in rear section of the Center Console
2) Cables in the front of the Center Console (need to remove console)
3) Cables in the back of the Center Console (powering the dual USB ports)
4) Cable (yellow) on the right side of the Center Console (powering the front cubby LED by opening and closing the middle door)
5) Cable (blue) in the driver left footwell area (nestled in a large white multi-cable connector)
6) White power block inside the upper left corner of the dash, called “VC-Left” (designed for trailer hitch cables on EU models)
7) Red high-amperage connector under the rear seats/bench, (from the “penthouse”) on the passenger side (note this powers all 12v systems in the car)
On with the show:
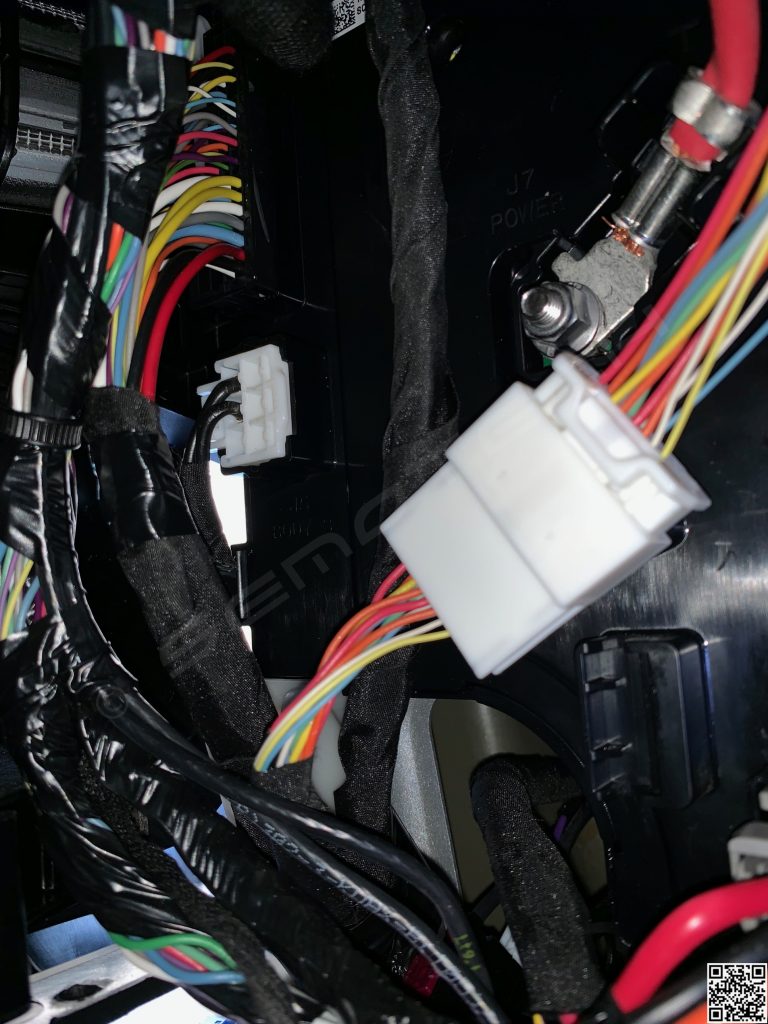
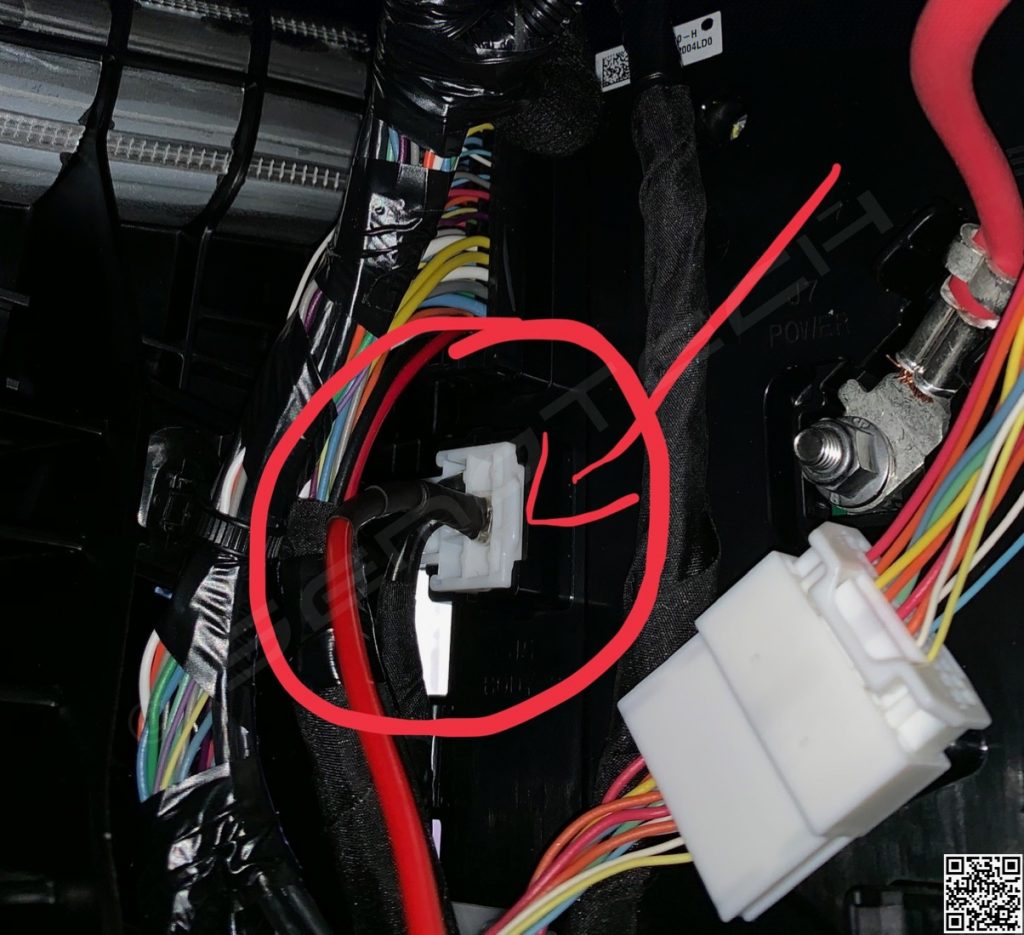
The most practical location to tap for our neat Power Distribution Modification is VC-Left (discovered and documented on YouTube by Ingineerix), as it is standalone, has no other devices connected, supports approximately 12A @ 12V (144W), and will trip at 15A with no need for fuses!
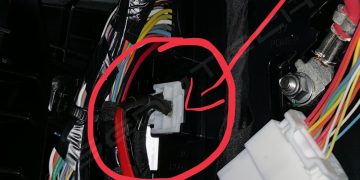
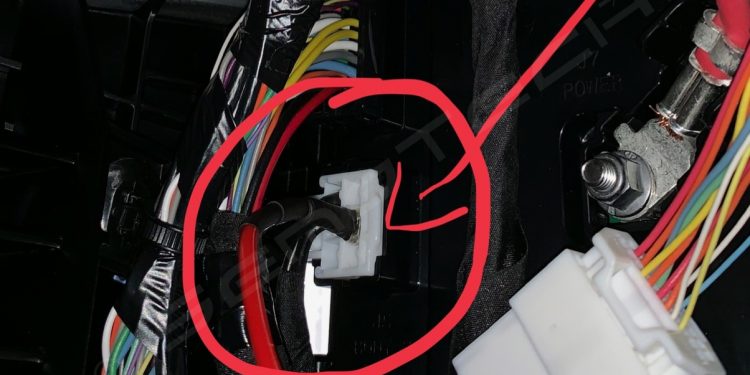
VC-Left, is the middle front normally empty connection spot in the pictures below. My shielded positive (+) red wire is then inserted with a 5mm female spade into the empty connection spot to access the switched 12v positive. I used 14 Gauge stranded copper wire (rated @ 18A) for this main connection and for the Ground (-) connection, just to be safe.
To make things nice and simple I needed a location to install a $14 Power Distribution Block and allow for easy connection of future hardwired accessories on an on-going basis. I did remove the two black cables that come with it and are soldered inside the rails, for a cleaner install.
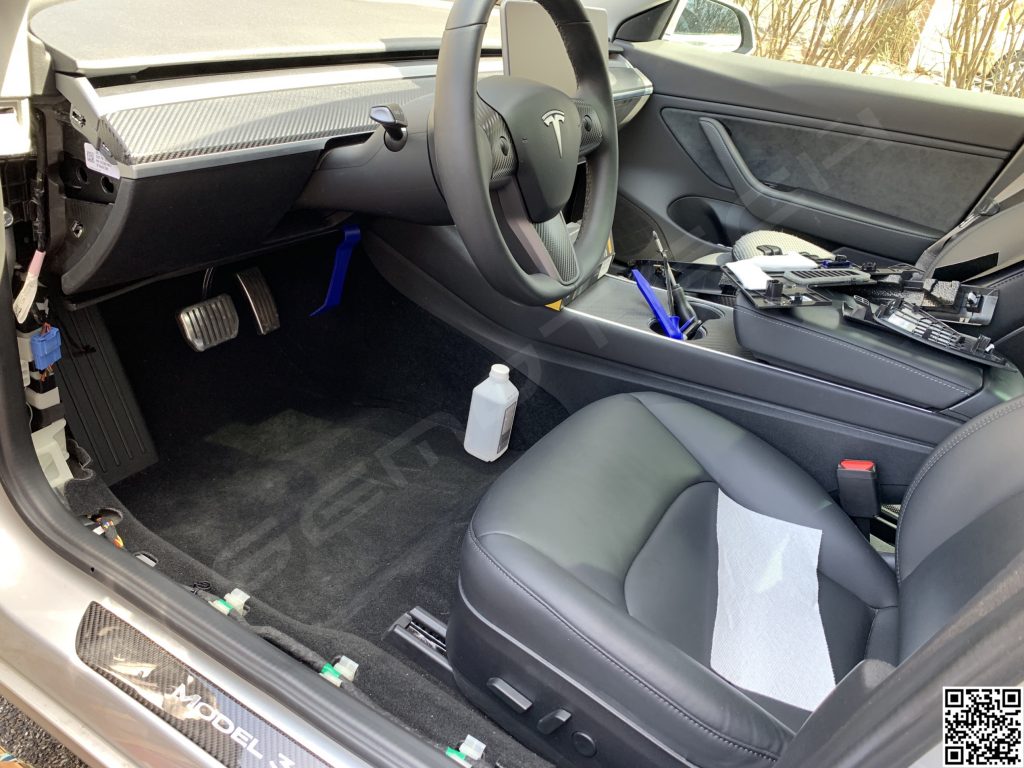
Best location I found to mount the block was in the driver bottom left footwell area. To access it, remove the long plastic trim cover which protects the array of cables. For disassembly and access to the area, you can follow the great YouTube video from John Osborne. Just stop @ 1:08 and don’t mess with the multi-cable block.
There is a big blue connector mounted on a white plastic support and to the left of it an unused piece of plastic meant to provide support for the plastic trim. I removed the left side of the plastic with a Dremel, but left the actual support for the blue connector intact. I them screwed-in the Power Distribution block in the flat area directly to the left of the large blue connector.
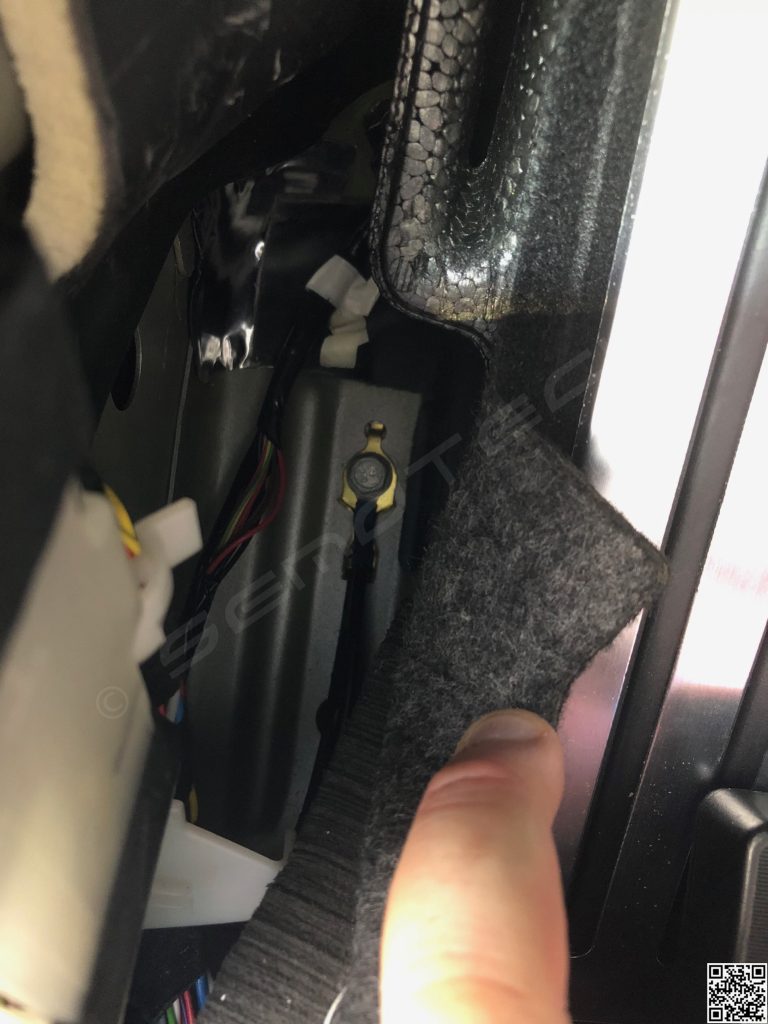
For the ground connection, I found a nice ground bolt right inside the same footwell at the bottom and made an easy spade connection to the Distribution block.
Here is the picture gallery for this Mod:

